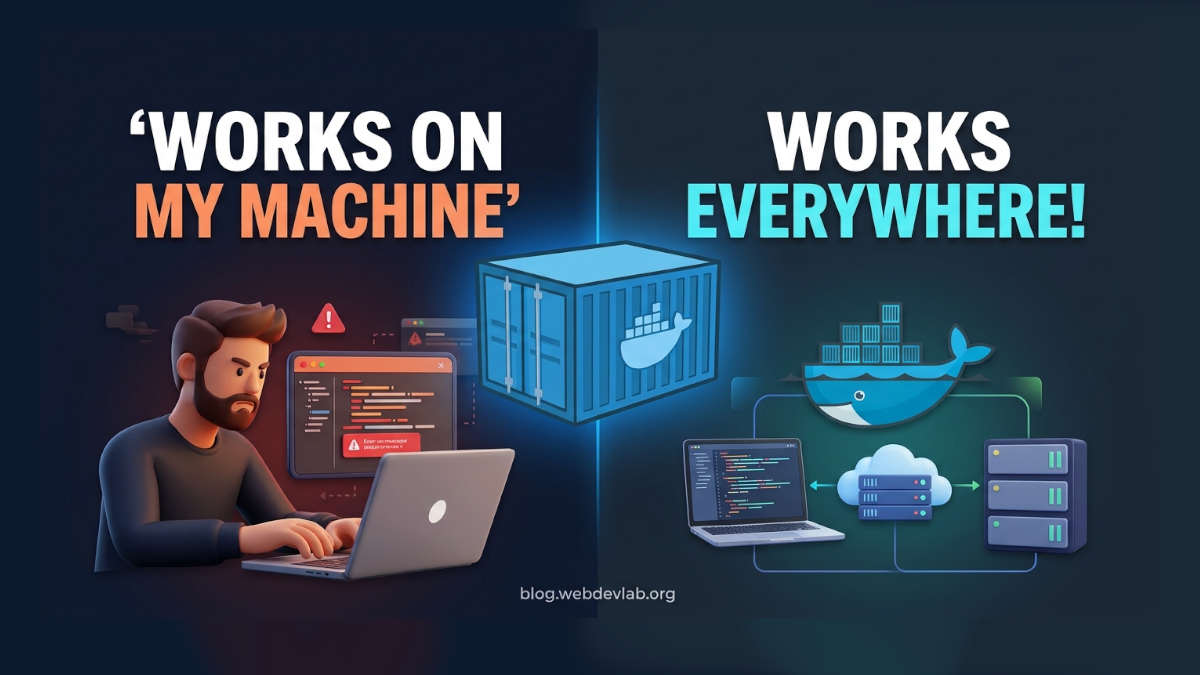
You've probably faced this problem before. You build an app on your laptop. Everything works fine. No errors. No warnings. You're happy. Then you deploy it to a server. BOOM! Nothing works. 💀
You check the code. It looks fine. You check the packages. They're installed. But the app still crashes. And you start saying: "Bro, it works perfectly on my machine!" Sound familiar? This is a common problem for developers. It usually happens because your laptop and your server have different environments. Maybe your laptop has Node.js 22, but the server has Node.js 18. Maybe a package is missing. Or maybe your app needs something that only exists on your laptop. So, how do we fix this? One popular solution is Docker. Docker helps you package your app with the things it needs to run. You can then use that package on your laptop, testing server, or production server. Let's understand how it works and build a simple Docker setup together.
Why Does "Works on My Machine" Happen?
Let's say you're building a Node.js application.
Your laptop has:
Ubuntu
Node.js 22
npm 10
All required packages
Environment variables
A local database
You finish the app and send it to your production server.
But the server has:
A different Linux version
Node.js 18
An older npm version
Missing packages
Different environment variables
Now your app starts throwing errors.
Why?
Because your app doesn't depend on code alone. It also needs the right environment to run. Think about it like this. Imagine you're cooking a meal at home. You have all the ingredients, the right tools, and everything you need. Now imagine someone asks you to cook the same meal in another kitchen. But that kitchen has different tools, some missing ingredients, and a different oven.
Can you make the same meal?
Maybe. But you'll probably face some problems. Software works in a similar way. Your application needs certain tools, packages, and settings. If something is different, things can break. Here are some common reasons:
Problem | What happens? |
|---|---|
Different Node.js versions | Some features may not work. |
Missing packages | Your app cannot find required dependencies. |
Different OS | Some system tools or libraries may be missing. |
Missing environment variables | Database connections or API calls may fail. |
Different configurations | Your app behaves differently. |
You could fix these problems manually. Install Node.js. Install packages. Change configurations. Update system libraries. But imagine doing all that on 5 different servers.
Not fun, right?
This is where Docker helps.
Read article on "Reduce Docker Image Size"
What Is Docker?
Docker is a tool that helps you package and run applications in containers. Think of it as a box for your application. You put your application code, required packages, and runtime environment into that box. Then you can take that box and run it on another machine. The other machine doesn't need to have all your application dependencies installed directly on it. Docker provides the packaged environment through the container. There are two important things you need to understand. Docker documentation
What Is a Docker Image?
A Docker image is a package that contains everything needed to create a container. For example, your image might contain:
Node.js 22
Your application code
Express
Other required packages
Startup instructions
Think of an image as a blueprint.
You create the image once and use it to start containers whenever you need them. Docker images docs.
What Is a Docker Container?
A container is a running instance of a Docker image. Let's say you have a Docker image for your Node.js application. You can use that image to create a running container. You can also create multiple containers from the same image. Here's a simple way to remember:
Docker image: The package or blueprint.
Docker container: The running application created from that package.
Create a Simple Node.js Application
First, create a project folder. Node.js language-specific guide
Open your terminal and run:
mkdir docker-demo
cd docker-demo
The first command creates a folder called docker-demo.
The second command moves you inside that folder.
Now create a Node.js project:
npm init -yThis creates a package.json file.
It contains basic information about your project, such as its name, version, scripts, and dependencies.
The -y option simply accepts the default settings. So npm doesn't ask you a bunch of questions.
Install Express
We'll use Express to create a small web server.
Run:
npm install expressThis installs Express in your project.
It also adds Express to your package.json and creates or updates package-lock.json.
The lockfile is important because it helps npm install the same dependency versions later.
Create the Server
Now create a file called server.js.
Add this code:
const express = require("express");

const app = express();

const PORT = process.env.PORT || 3000;

app.get("/", (req, res) => {
  res.send("Hello from Docker! 🚀");
});

app.get("/health", (req, res) => {
  res.json({
    status: "healthy",
    message: "Application is running",
  });
});

app.listen(PORT, "0.0.0.0", () => {
  console.log(`Server running on port ${PORT}`);
});
Let's quickly understand what's happening.
First, we import Express:
const express = require("express");This loads the Express package we installed earlier.
Next, we create our app:
const app = express();This creates our Express server.
Then, we define the port:
const PORT = process.env.PORT || 3000;The app checks whether a PORT environment variable exists.
If it does, we use that port. Otherwise, we use 3000.
This is useful because different servers may use different ports.
Now, we create two routes:
app.get("/", (req, res) => {
  res.send("Hello from Docker! 🚀");
});
When someone visits /, our server sends a message.
We also have:
app.get("/health", (req, res) => {
  res.json({
    status: "healthy",
    message: "Application is running",
  });
});
This route returns a simple JSON response.
We'll use it to check whether our application is working.
Finally, we start the server:
app.listen(PORT, "0.0.0.0", () => {
  console.log(`Server running on port ${PORT}`);
});
Notice 0.0.0.0.
This is important when running applications inside Docker.
It allows the server to accept connections through the container's network interfaces.
If you only listen on localhost, you may not be able to access the app from outside the container.
Test It Before Using Docker
Let's make sure everything works first.
Run:
node server.jsNow open your browser and visit:
http://localhost:3000You should see:
Hello from Docker! 🚀You can also test the health route:
curl http://localhost:3000/healthIf everything works, we're ready for Docker.
Read article on "7 Developer Tools"
Create Your First Dockerfile
Now comes the interesting part. Dockerfile reference
Inside your project folder, create a file named:
DockerfileNo file extension. Just Dockerfile.
Add the following code:
FROM node:22-alpine

WORKDIR /app

COPY package*.json ./

RUN npm ci --omit=dev

COPY . .

EXPOSE 3000

CMD ["node", "server.js"]
Looks a little confusing?
Don't worry. Let's understand each line.
Step 1: Choose a Node.js Environment
FROM node:22-alpineFROM tells Docker which base image to use.
Here, we're using node:22-alpine.
It gives us:
Node.js version 22
An Alpine Linux-based environment
The tools needed to run Node.js applications
Why do we need this?
Because we don't want our application to depend on the Node.js version installed on the server.
We're choosing the version ourselves.
Even if your laptop has Node.js 20, the container will use Node.js 22.
Pretty useful, right?
Step 2: Set the Working Directory
WORKDIR /appThis creates and uses a folder called /app inside the container.
Think of it like running:
cd /appAll the next commands will use this folder unless you change the working directory.
Why?
It keeps our application files in one place instead of scattering them around the container.
Step 3: Copy the Package Files
COPY package*.json ./This copies package.json and package-lock.json into the /app folder.
But why are we copying these files separately?
There's a good reason.
Docker can reuse parts of an earlier build if nothing has changed.
Your application code may change every day. But your dependencies might stay the same for weeks.
By copying the package files first, Docker can reuse the dependency installation step when you only change your application code.
This makes future builds faster.
Step 4: Install Dependencies
RUN npm ci --omit=devThis command installs the packages needed by our application.
Let's break it down.
RUN: Executes a command while building the image.npm ci: Installs packages usingpackage-lock.json.--omit=dev: Skips development-only packages.
Why use npm ci?
Because we want predictable installs.
It uses the exact dependency versions recorded in the lockfile. If your lockfile doesn't match package.json, it reports an error instead of silently changing the lockfile.
Why skip development packages?
Because production applications usually don't need testing tools, formatters, or other development packages to run.
This can help keep the image smaller.
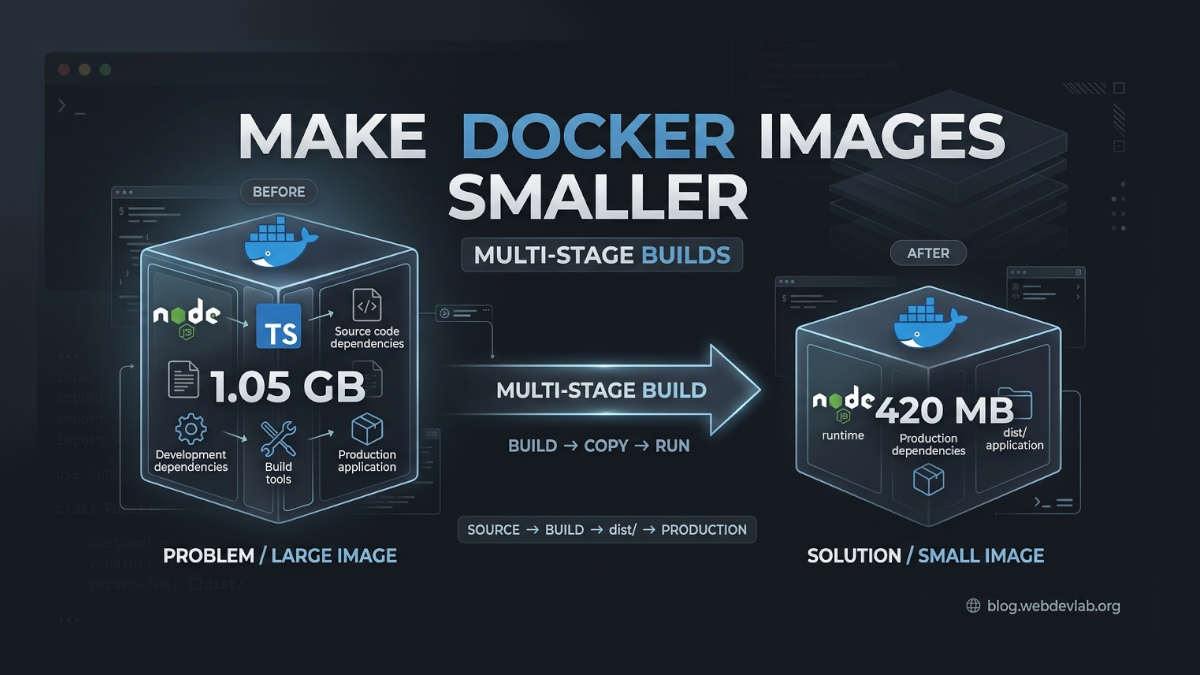
One thing to remember: if you're using TypeScript or another tool to build your app, you'll need those build tools during the image build. A multi-stage Dockerfile is a better choice for that.
Step 5: Copy Your Application Code
COPY . .This copies the rest of your project files into the /app directory.
Why?
Because installing Express doesn't automatically copy your server.js file.
We need to include our actual application code.
Step 6: Expose the Port
EXPOSE 3000This tells Docker that our application uses port 3000.
But here's something important.
EXPOSE doesn't actually make the port available on your laptop.
We'll do that when we start the container.
Step 7: Tell Docker How to Start the App
CMD ["node", "server.js"]This tells Docker to run our Node.js application when the container starts.
It's basically the same as running:
node server.jsThe JSON-array format is called the exec form.
It's generally better for application startup because the Node.js process runs directly as the main container process and can receive shutdown signals properly.
That's our Dockerfile!
Create a .dockerignore File
Before building the image, let's create one more file.
Create:
.dockerignoreAdd:
node_modules
.git
.env
npm-debug.log
.DS_Store
coverage
What's this file for?
It tells Docker which files it should ignore when sending files to the build process.
For example, we don't need our local node_modules folder.
Why?
Because we're already installing the packages inside Docker.
Also, we don't want to accidentally copy .env files containing passwords, API keys, or database credentials.
Here's how your project should look now:
docker-demo/
│
├── Dockerfile
├── .dockerignore
├── package.json
├── package-lock.json
└── server.js
Simple and clean.
Tip: Never put passwords or production API keys inside your Dockerfile. Use a secure secret manager or pass secrets when the container starts.
Read article on "Node.js vs Bun vs Deno"
Build Your Docker Image
Now we're ready to build the image. Open your terminal inside the project folder and run:
docker build -t docker-demo .Let's understand the command.
Part | Meaning |
|---|---|
| Builds a Docker image. |
| Gives the image a name. |
| Our image name. |
| Uses the current folder as the build context. |
Why are we doing this?
Remember the Dockerfile?
It contains instructions. But we still need Docker to follow those instructions and create an actual image. That's what docker build does.
During the build, Docker will:
Get the Node.js base image.
Create the
/appfolder.Copy the package files.
Install the dependencies.
Copy our application code.
Prepare the startup command.
Once the build finishes, our image is ready.
Check Your Image
Run:
docker imagesThis shows the Docker images stored on your machine.
You should see something similar to:
REPOSITORY    TAG       IMAGE ID
docker-demo   latest    abc123...
Great! We now have a Docker image.
But our application isn't running yet.
Let's fix that.
Read article on "Deploy FastAPI on Cloudflare Workers"
Run Your Docker Container
Run this command:
docker run -d -p 3000:3000 --name my-node-app docker-demoThis creates and starts a container from our image.
Let's understand the options.
docker run
Creates and starts a container.
-d
Runs the container in the background.
Without this option, the container runs in the foreground and keeps your terminal attached to it.
-p 3000:3000
This connects a port on your laptop to a port inside the container.
The format is:
-p HOST_PORT:CONTAINER_PORTIn our example:
First
3000: Port on your laptop.Second
3000: Port inside the container.
So when you visit localhost:3000, Docker sends the request to the application inside the container.
--name my-node-app
Gives our container a name.
This makes it easier to manage later.
docker-demo
This is the image we want to run.
Test Your Application
Open your browser:
http://localhost:3000You should see:
Hello from Docker! 🚀Also test:
curl http://localhost:3000/healthIf you get the expected JSON response, congratulations!
Your Node.js application is now running inside Docker.
You didn't need to install Express directly on the server or prepare its Node.js environment manually.
Docker took care of that.
Read article on "12 React Form Mistakes"
Useful Docker Commands You Should Know
You'll use Docker commands quite often. Here are some useful ones.
See Running Containers
docker psShows all currently running containers.
Want to see stopped containers too?
docker ps -aCheck Application Logs
docker logs my-node-appShows the logs from your container.
If your application crashes, this is one of the first commands you should try.
Want to watch new logs as they appear?
docker logs -f my-node-appThe -f option means follow. It keeps showing new log entries.
Stop a Container
docker stop my-node-appStops the container.
Docker sends a shutdown signal to the main process and gives it some time to stop properly.
Start It Again
docker start my-node-appStarts the existing stopped container.
Remove a Container
docker rm my-node-appRemoves a stopped container.
If it's still running, you can force removal:
docker rm -f my-node-appBe careful with this one. It stops the container before removing it.
Remove an Image
docker rmi docker-demoRemoves the image from your machine, as long as no existing container is using it.
These commands will save you a lot of time when working with Docker.
Read article on "We Scaled a URL Shortener"
How Does Docker Actually Fix the Problem?
Let's go back to our original problem.
Without Docker:
Your laptop has Node.js 22.
Your server has Node.js 18.
Some packages are missing.
The server needs manual setup.
Your app suddenly stops working.
With Docker:
You choose the Node.js version.
You install the required packages inside the image.
You package your application.
You run the same image in different environments.
Here's a simple comparison:
Without Docker | With Docker |
|---|---|
Install Node.js manually | Use a Node.js base image |
Install packages manually | Install packages during the image build |
Prepare every server | Reuse the same image |
Different environments | More consistent environments |
More manual work | Less manual setup |
Imagine you're working with three environments:
Development
Testing
Production
You build your image and use that same image in all three environments. No need to manually install everything again and again. That's why Docker is so useful. One thing to remember: your database URLs, API keys, and other settings may still be different in each environment. You should provide those settings when the container starts.
Read article on "Cut API Response Time by 60%"
Common Docker Mistakes Beginners Make
Here are some problems you might face when starting with Docker.
Mistake | What happens? | Solution |
|---|---|---|
Using | The app may not be reachable from outside. | Listen on |
Forgetting | You can't access the app through the host port. | Publish the port with |
Copying local | Packages may not work correctly inside the container. | Install dependencies inside Docker. |
Forgetting | Unnecessary files enter the build context. | Add a |
Putting passwords in Dockerfile | Secrets may leak into the image. | Use runtime secrets. |
Using different dependency versions | Builds may behave differently. | Commit and use the lockfile with |
Thinking Docker fixes everything | Your app can still crash. | Test, monitor, and manage your application properly. |
One more thing.
Docker containers are not virtual machines.
A virtual machine usually runs its own operating system and kernel.
Containers share the host machine's kernel but keep applications isolated from each other.
That's one reason containers are often faster to start and use fewer resources than full virtual machines.
Does Docker Fix Every Problem?
Nope! Docker is useful, but it isn't magic. Your application can still have bugs. Your database can still go down. Your API can still become slow when traffic grows. Your server can still run out of memory. Docker mainly helps you package and run your application in a more consistent environment. It doesn't replace good code, system design, security, or monitoring.
As your application grows, you'll also need to learn about:
Docker Compose
Docker networking
Docker volumes
Reverse proxies
CI/CD pipelines
Kubernetes
But don't rush into everything at once. Start with Docker basics first.
Summary: Fixing "Works on My Machine" with Docker
Let's quickly recap.
The "Works on My Machine" problem happens when your application works on your laptop but fails on another machine.
Usually, the reason is a difference in the environment.
Docker helps by packaging your application and its runtime dependencies into an image.
You can then use that image to create containers on different machines.
In this tutorial, we:
Created a Node.js application.
Wrote a Dockerfile.
Selected a Node.js base image.
Installed dependencies inside Docker.
Created a
.dockerignorefile.Built a Docker image.
Started a container.
Tested our application.
Now you know how to Dockerize a basic Node.js application.